You have chosen your paint color(s), and you are ready to start your home painting project. Will this be DIY, or do you plan to hire a professional? If you are hiring, first check with friends and family and get their first-hand recommendations. Second, check in with your local community groups for suggestions. Let me break down the steps for you!
Once you have a list of professionals you want to reach out to for an estimate on your project, use the following questions to help guide you in the process.
Questions to ask a Painter – Quoted from HomeAdvisor:
- How long have you been in business?
- Are you licensed and insured?
- Do you belong to any professional organizations?
- Do you have other work I can look at?
- How long will the job take?
- How many people are in your crew?
- Will I be in the way if I am home during the painting?
- Do you guarantee your work?
- What type of paint do you use, and how long is it rated to last?
- Can you supply a written estimate and contract?
(Source: HomeAdvisor.com)
DIY Paint Project – How To
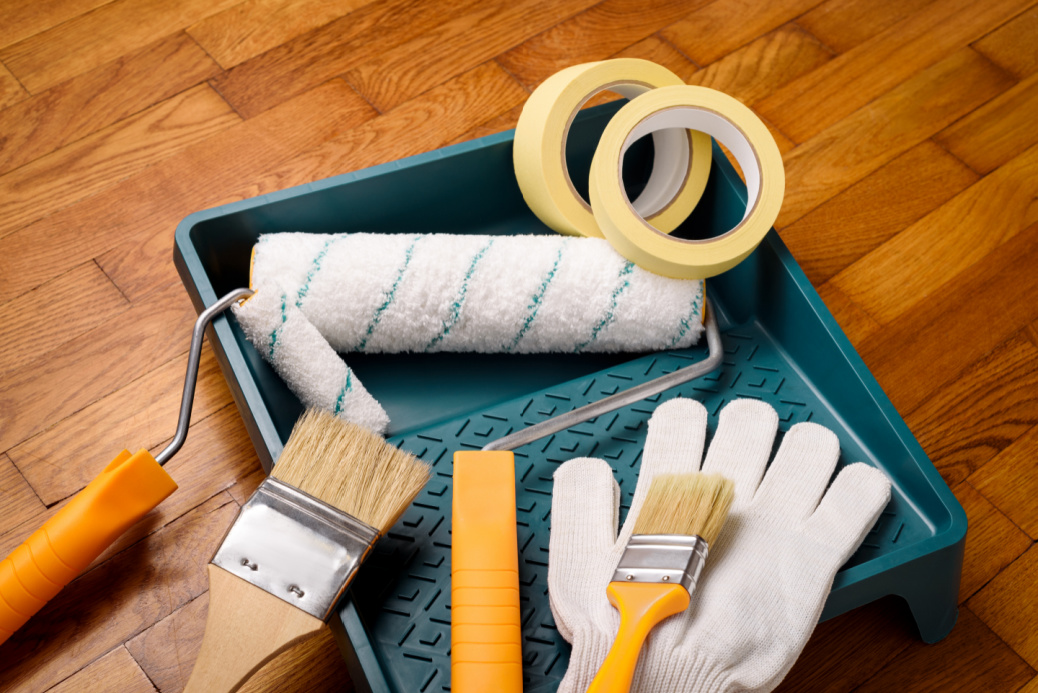
You have decided that you want to tackle the paint job on your own. The key to a nice-looking paint job is preparation. There are several items you will need before you begin. Download or print this DIY Paint Supply List before starting your project. To help you, I created a Pinterest board of additional tips and products.
Prepare Your Walls for Priming (if using) and Painting
- Remove as much furniture from the room as possible. Move what you cannot physically take out of the room to the center of the room and cover with drop cloths.
- Remove all artwork or hanging elements from the walls.
- Remove curtains or window coverings, keep all hardware together by taping together or place in a seal-tight bag and label with a Sharpie. Trust me; it can be frustrating to put your room back together when everything gets mixed up.
- Remove all light and outlet covers. Tape the screw to the back of the cover and put them all in a box, so they are not lost.
- Once the room is empty, vacuum and dust all surfaces and woodwork. Do the walls need to be cleaned? A kitchen will need different prep than an office; for further instructions, check out this article on cleaning your walls before Painting.
- Patch any holes when dry sand lightly, and prime the patched spots. If you are not using a primer, use your paint as the primer; let it dry completely before beginning your paint project.
- Use quality painter’s tape to reduce the chance of paint dripping on woodwork and baseboards.
Where to Start
First, paint the ceiling. There is a difference between quality ceiling paint and wall paint. Generally, ceiling paint has a flat sheen to hide imperfections and is less apt to drip during application. Check with your favorite paint supply store for recommendations depending on the type of ceiling you are painting. Second, paint the walls. Once the walls are dry, paint trim and woodwork.
I love a freshly painted room! It can change the whole look and feel of your home. Now for the fun part, decorating and adding your personal touch. Give me a call at 610-955-8202 if you need a color consultation, and I can recommend a professional painter at that time.
By Debbie Correale, Redesign Right, LLC. Stay connected on Facebook, Instagram, Pinterest, Houzz, and LinkedIn. Feature photo from Shutterstock.

